How to install Chrome plugin in MuLogin
Add a single plugin in single MuLogin browser configuration file, for example, add Adblock Plus plugin.
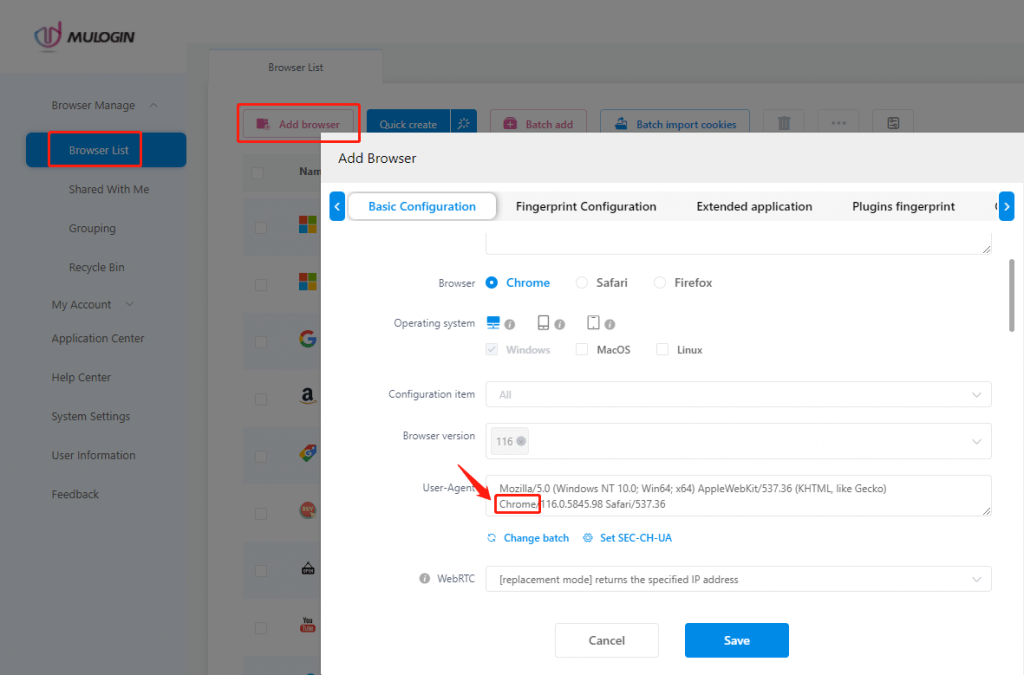
1.MuLogin configuration file -> User agent must be Chrome, otherwise, the plugin cannot be added successfully.
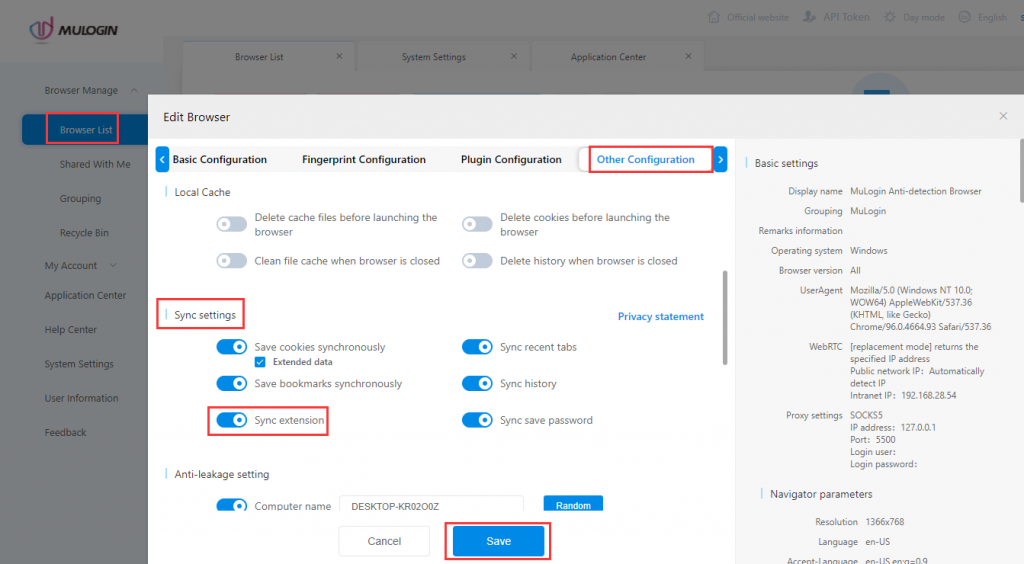
2.Other Configurations -> Sync settings -> Turn on “Sync extension” button -> Save. Enable sync extension function and save, after you share the browser configuration file to the sub-account or other accounts, when the receiver opens the browser configuration file, the plugin will be automatically added to the browser.
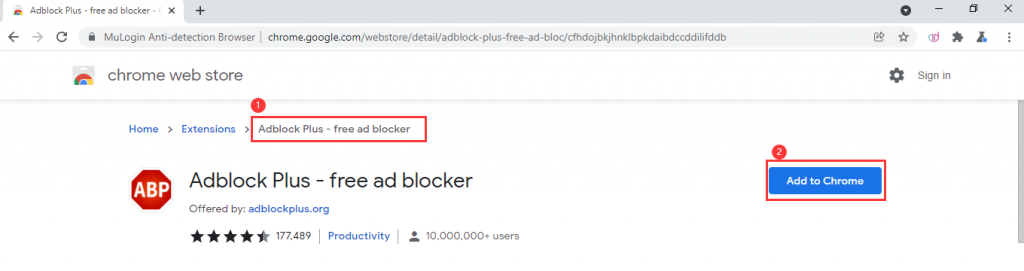
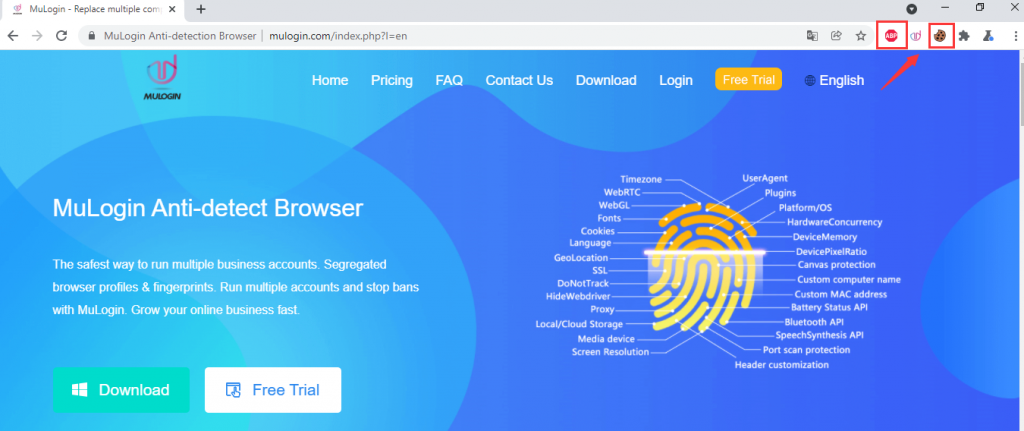
3.Launch browser -> Search "Extensions" in the browser search bar, then open Chrome Web Store or copy and paste the URL: (https://chrome.google.com/webstore) directly to search for the plugin that you want to add to the browser, such as Adblock Plus.
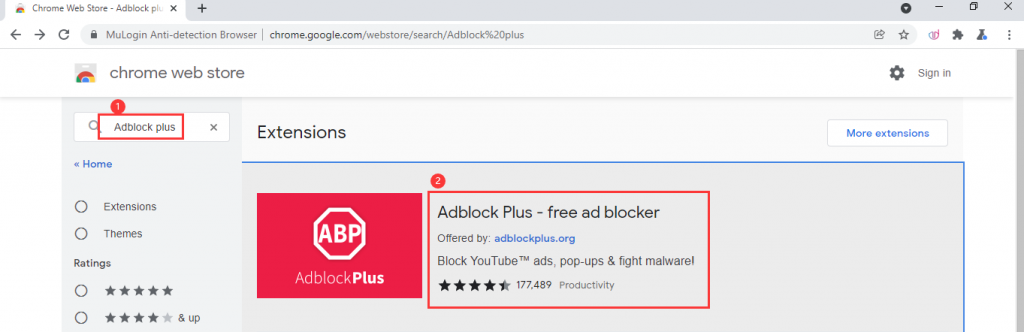
4.Click Adblock Plus -> Add to Chrome
5.Click "Add extension".

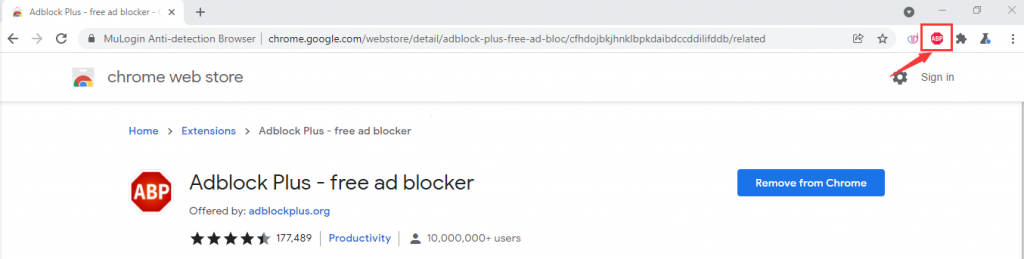
6.Add Adblock Plus extension successfully.
Add plugins in batches to multiple browser configuration files in MuLogin, for example, add Cookie-Editoe and Adblock Plus extensions.
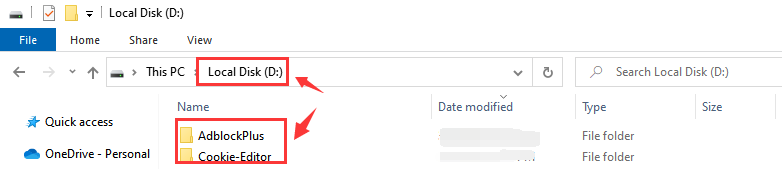
1. Pack "Cookie-Editor" and "Adblock Plus" extensions and store them on local computer. Save them in Zip format and unzip them (Download from Google Play Store).
Note: Please refer to the "How to add Chrome plugins to the “Application Center” in MuLogin?".
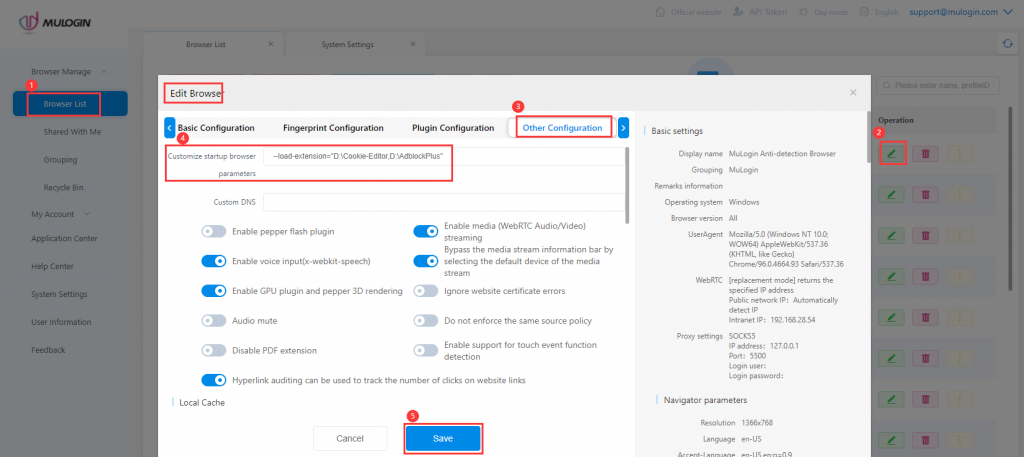
2. MuLogin client -> System Settings -> Preferences -> Input customize startup browser parameters -> Save settings, for example:
--load-extension="D:\Cookie-Editor,D:\AdblockPlus"
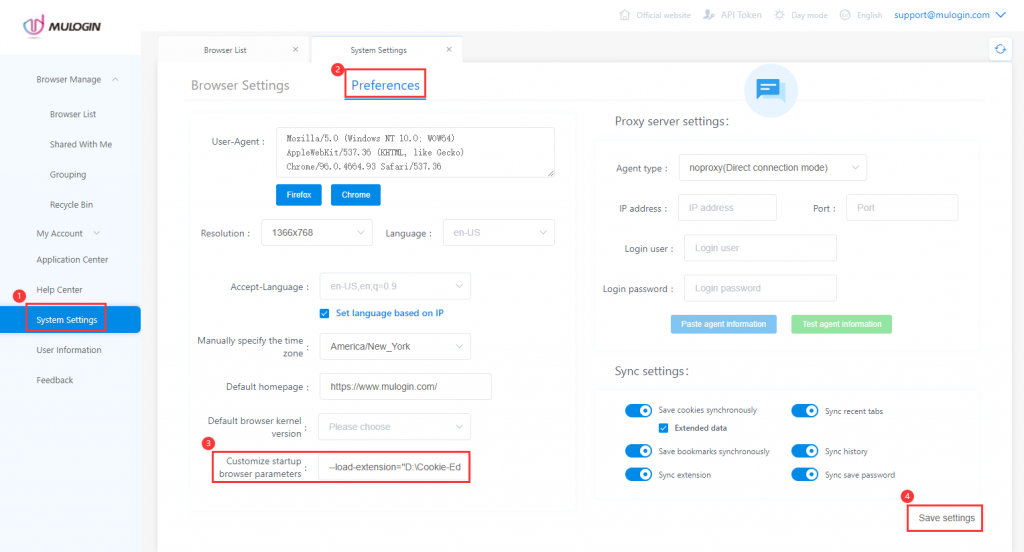
In the parameters: --load-extension="D:\Cookie-Editor,D:\AdblockPlus", parameters "D:\Cookie-Editor,D:\AdblockPlus" means the path and folder names of the two extensions stored on the local computer.
3.If you need to add multiple plugins, when you fill in the customize startup browser parameters, please separate the extension directories with a comma without spaces. After set in this way, when you create a new configuration file, the extension will be added to the browser automatically, then you don’t need to add extensions one by one.
Fill in format:
--load-extension="D:\Cookie-Editor,D:\plugin2,D:\plugin3"
4. Create a new browser configuration file

5. Launch the browser -> Add two extensions automatically
Note:
① If you want the extensions added automatically in the old browser configuration file, please set in this way: Select the configuration file that you need to add extensions -> Edit configuration file -> Other Configurations -> Custom startup browser parameters-> Copy and paste parameters -> Save.
② If you don’t need the extensions automatically added to the newly created browser configuration file, you can refer to the method in article ① to delete the custom startup browser parameters, then save, and the extensions will not be added to the browser automatically when you launch the browser.

③ If you need to share the browser configuration file which installed multiple extensions to sub-accounts or other accounts, the receiving end needs to store the extensions in the same path and same folder names on his/her computer, then the extensions will be added to the browser automatically when the receiving end launch the shared browser configuration file.
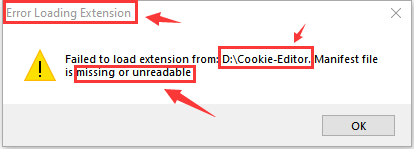
Note: If the receiving end doesn’t download, decompress and store the extensions to the same path, when he/she launches the shared browser configuation file, it will appear an error prompt as below screenshot. To fix this problem, please refer to article ③.