SX.ORG proxies settings
1. First, go to the SX official website and click on the registration button on the top right.

2. Then fill out all the required fields or press "Continue with Google" and proceed to the dashboard.
3. Don’t forget to apply the MULOGINFREE promo code at the bottom left of the page to get free traffic and try SX for free.
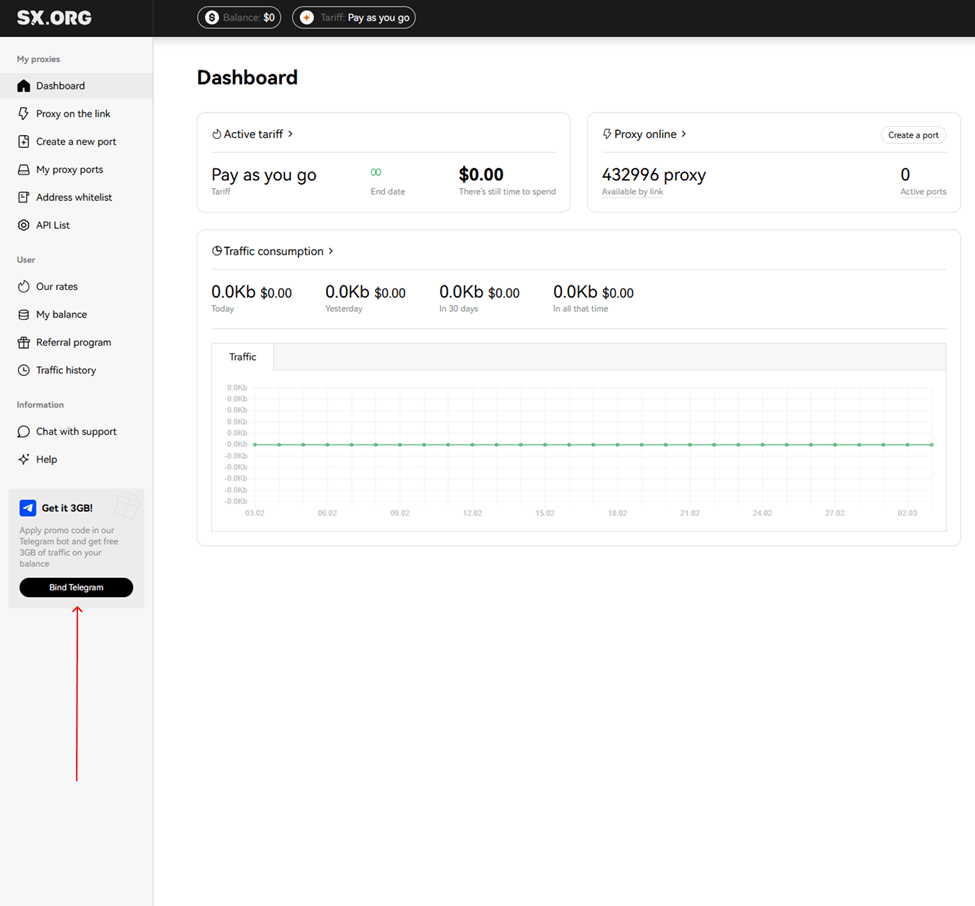
4. To create a proxy port, go to the "Create New Port" tab.
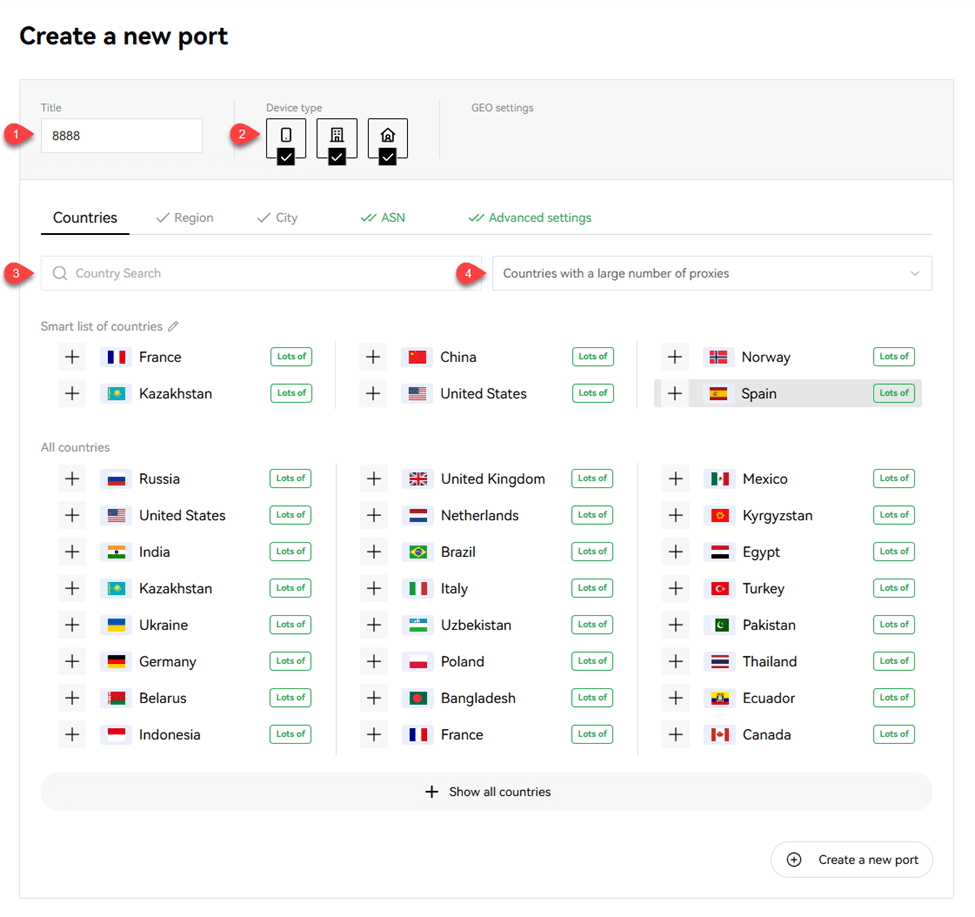
You will be asked to choose a name for your proxy and select a country and a proxy type.
(1) You’re suggested to fill out the "Title" field. Although it’s unnecessary, it serves as a name for your port and helps you to recognize it easily.
(2) On the right from the "Title" is device type selection: here, you can choose between the 3 types of IPs: mobile, corporate, or residential. Note that all 3 types are selected by default, but for the most stable performance, we recommend selecting only one.
(4) Then you can find the country you are interested in the "Country Search" field 3. Just start filling out the name and the dynamic filter will display the most relevant results.
If you have not decided which geo you are interested in yet, you can also use the automatic selection of countries (field 4). Countries with the largest number of IPs are displayed by default, but you can also view and select the most popular countries among other SX users.
(5) After selecting a country, you can select a region and a city you are interested in fireld 1. The same search fields 2,3 are also available for them. If you don't know in which region your chosen city is located, worry not, when selecting the city, the region will be selected automatically.
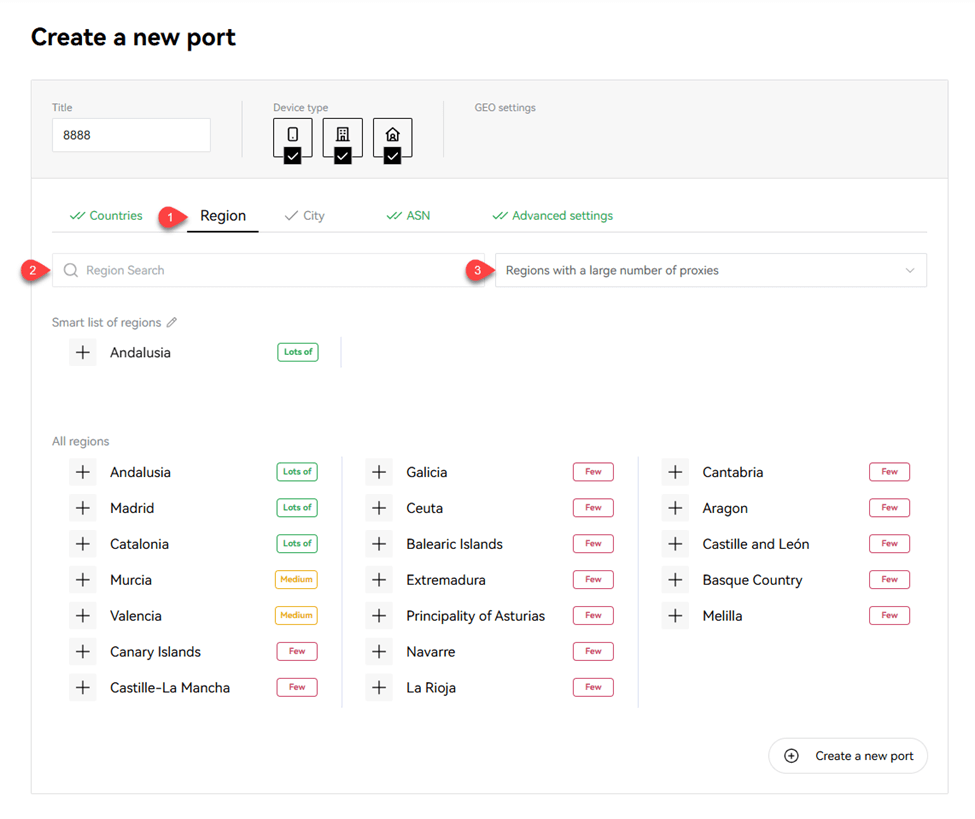
(6) Next, you can set the ASN (Internet Service Provider). We recommend to leave this option by default.
(7) In the last step, you can choose your proxy quantity, rotation type, and authorization type. Make sure you’ve filled out the "Title" field 1, otherwise the service generates it automatically.
Note that if you create multiple proxies at a time (field 2), they will all have the same name (a maximum of 1000 proxies can be created at a time).
Next, you can choose a type of IP behavior.
"Maintain connection" (default) - if the current IP stops operating, the system will replace it with the closest similar IP of the same subnet or the same ASN.
"Break Connection" - if the IP disconnects, the connection will be halted until the current IP becomes online again.
"Rotate" - with this type of behavior, the IP address is changed with each request.
And the last step is to select the authorization type (field 4):
"Login and password authorization only"(default) – the proxy is being authorized by login and password only. Note: IP addresses of devices added to your whitelist cannot be used with this type of proxy.
"Authorization by whitelist or authorization by login and password" – this type of proxy allows you to establish the connection via IP:PORT credentials of the proxy, without specifying login and password, as long as the IP address of your device is provided in the whitelist.
*Please note, this option requires a fee.
The cost of creating a port of this type is $0.01. Also, $0.01 for each port of this type on your account will be deducted from your balance once a day.
5. After setting all the preferences, click "Create Port", and the proxy generation will start, taking you to the main screen of the "My Proxy Ports" page.

Configure SX.ORG proxies in MuLogin
1. First, visit the MuLogin Antidetect Browser official website, register an account, and claim a 3-day free trial.

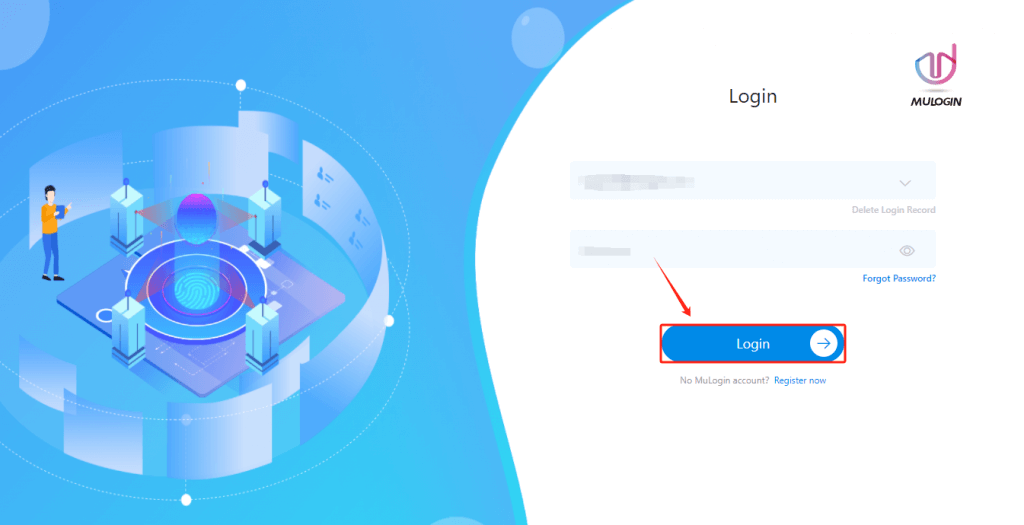
2. Then, download and install the client, and log in to your account.
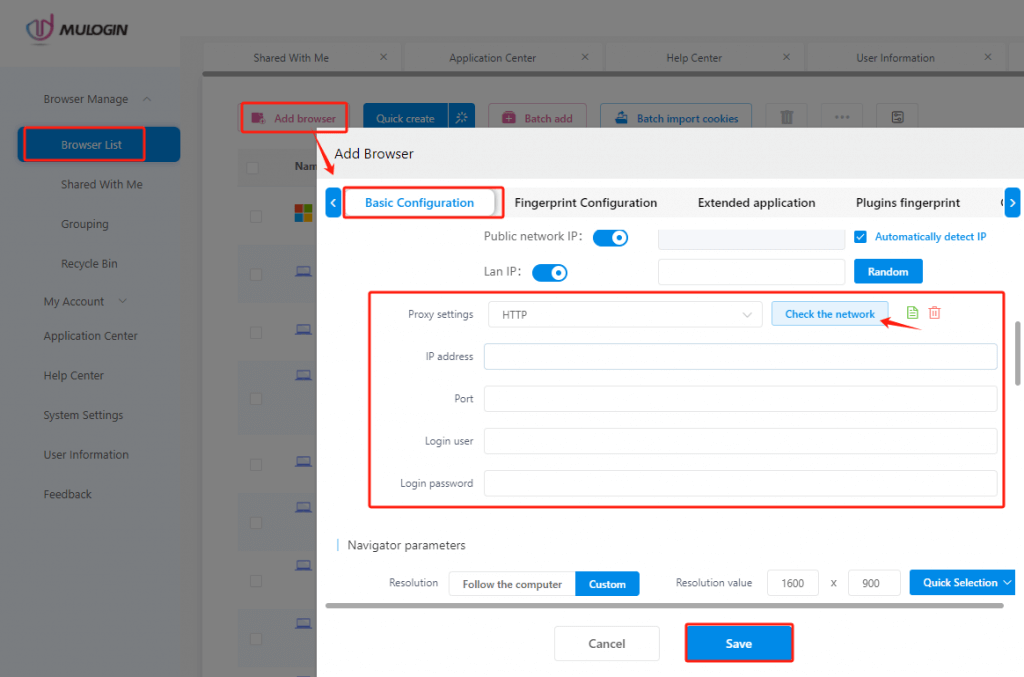
3. In the "Browser list", click "Add Browser" to enter the fingerprint configuration page and customize the relevant fingerprint settings.
4. On the "Basic Configuration" page, scroll down to the proxy settings section.
5. Enter the proxy information obtained from SX.ORG, then click "Check the network."
- Proxy type: HTTP or SOCKS5
- IP address
- Port
- Login user
- Login password
6. After a successful check and completing other configurations, click "Save" at the bottom.
Now you can launch the browser and use the browser configured with the SX.ORG proxy.
Note: MuLogin does not provide IP proxy services, users need to buy from third-party platforms. Proxy-related tutorials are provided by third-party platforms and have nothing to do with MuLogin. Users are strictly prohibited from using this product to engage in any illegal and criminal activities, and users are responsible for any liability resulting from the use of this product.