ProxySale proxy settings
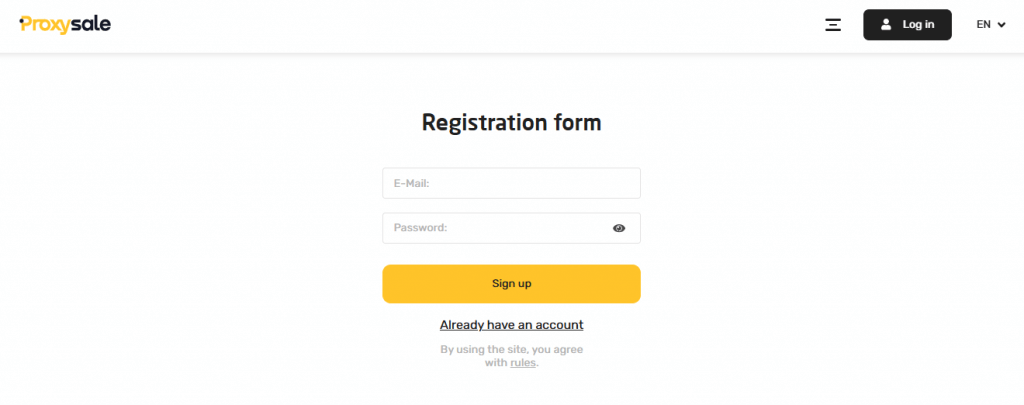
1. Go to Proxysale website. You need to sign up an account to the dashboard, and obtain the proxy credentials.
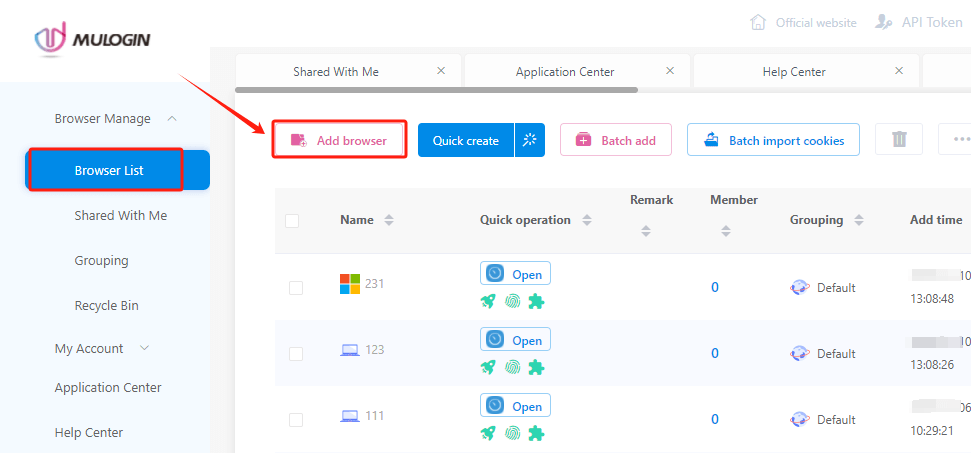
2. Install and launch the MuLogin browser (Support Free Trial). In the “Browser List” section, click “Add browser”.
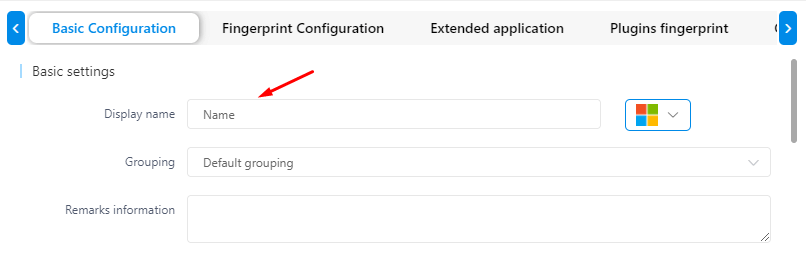
3. In the opened window, under the “Basic Configuration” tab, input a profile name in the “Display name” field for easier identification.
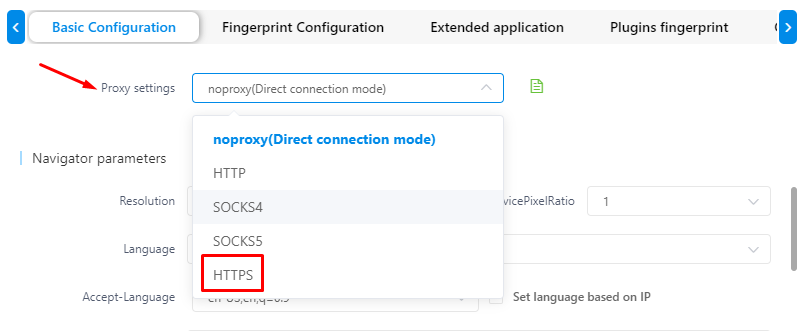
4. Navigate to the “Proxy settings” section, scroll to the proxy server settings, and choose a proxy connection protocol from the dropdown menu. For this example, select HTTPS.
5. Enter the necessary proxy server details in the designated fields: IP and port. If using private proxies, also input your username and password.
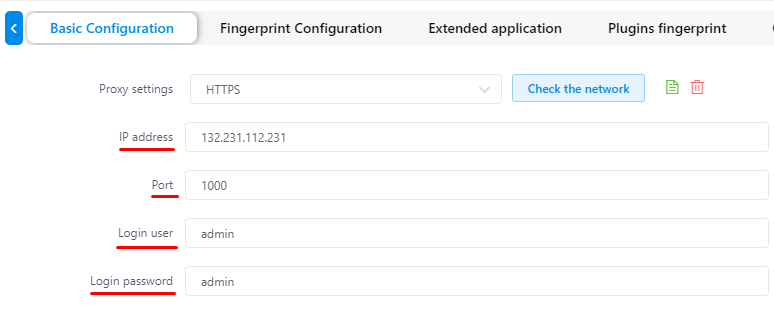
Note: To prevent character entry errors, it’s advisable to copy and paste proxy authorization data rather than typing it manually.
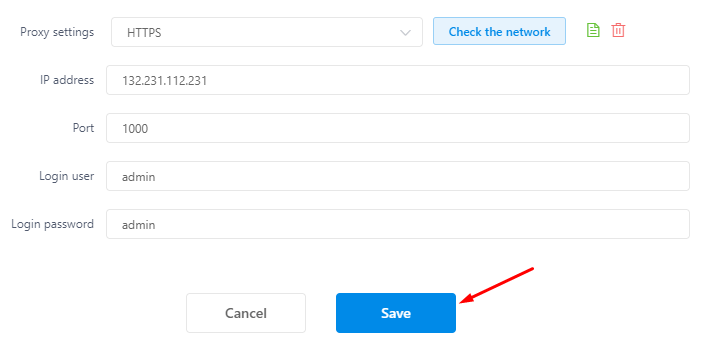
6. Verify the IP address connection using the “Check the network” button. A successful connection will display in green.

7. Click “Save” to finalize the proxy settings for the profile.
The proxysale is now configured in the MuLogin Antidetect Browser, enhancing the security and anonymity of your accounts.
Note: MuLogin does not provide IP proxy services, users need to buy from third-party platforms. Proxy-related tutorials are provided by third-party platforms and have nothing to do with MuLogin. Users are strictly prohibited from using this product to engage in any illegal and criminal activities, and users are responsible for any liability resulting from the use of this product.