Proxy-seller proxy settings
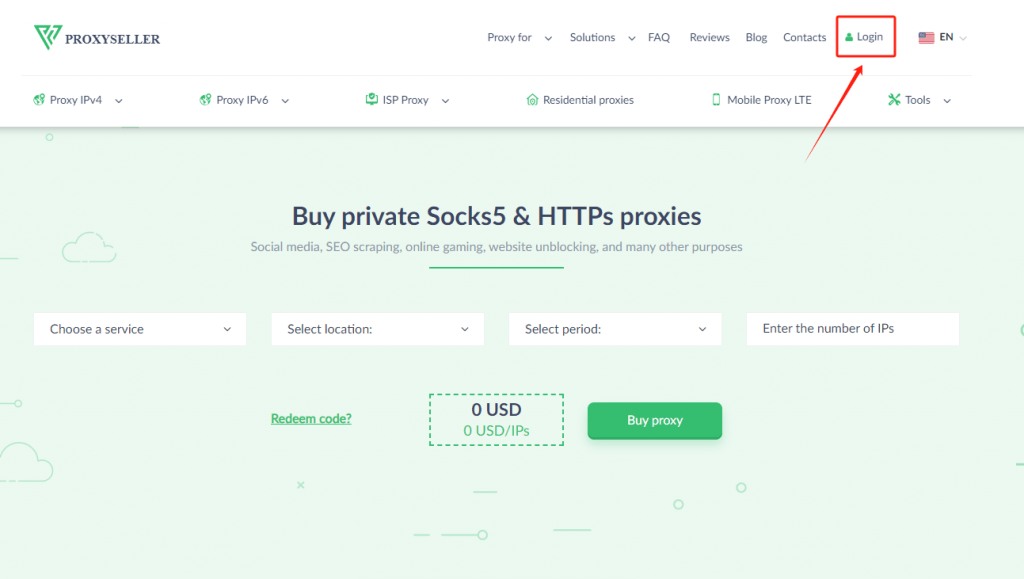
1. Login to the Proxy-seller. And then get the User & Password information.

2. Download the MuLogin browser (Support Free Trial) from the official website and launch it. Open the “Browser List” tab and click the “Add browser” button.

3. You will be redirected to the “Basic Configuration” window. Scroll to the “Proxy Settings” tab.

4. In the new window, set the name, IP address, and port of the proxy server, as well as the username and password for user authentication.

5. To check the functionality of the Internet connection with the specified parameters, click the “Check the Network” button.

6. Click “Paste proxy information”, then change the IP-address and port to the required ones. Once done, click the “Complete” button.

Note: MuLogin does not provide IP proxy services, users need to buy from third-party platforms. Proxy-related tutorials are provided by third-party platforms and have nothing to do with MuLogin. Users are strictly prohibited from using this product to engage in any illegal and criminal activities, and users are responsible for any liability resulting from the use of this product.